In this digital age, first impressions are often formed from online listings, before potential renters have even visited a property. Poor-quality photos- or even worse, no photos at all- can cause your property to be overlooked. Short of hiring a professional to take your pictures for you, here are the best steps you should always take into consideration before posting property photos online.
Equipment
- Camera: Depending on your phone, cell phone cameras may not cut it if you want quality real estate photos. However, you really don’t need a professional camera that’ll cost you hundreds or even thousands of dollars. Newer phone models sometimes have surprisingly good quality cameras, and even basic 5 megapixel cameras will do.
- Tripod: Tripods are not at all necessary for taking good photos, but if your pictures are turning out blurry or crooked from shaking hands, it might be worth considering.
Pro Tips
- Clear Clutter: Make your property look show-ready. That means no papers, clothes, people, etc. Fluff pillows, clean windows and mirrors, sweep away leaves outside, and stage the rooms to the best of your ability.
- Lighting: For shooting indoor rooms, turn on all the lights and open curtains. Avoid shooting on rainy days or at night. Rely on phone or camera flashes as little as possible. For outdoor shots, avoid shooting at the brightest points of the day- the sun will cast shadows on your property.
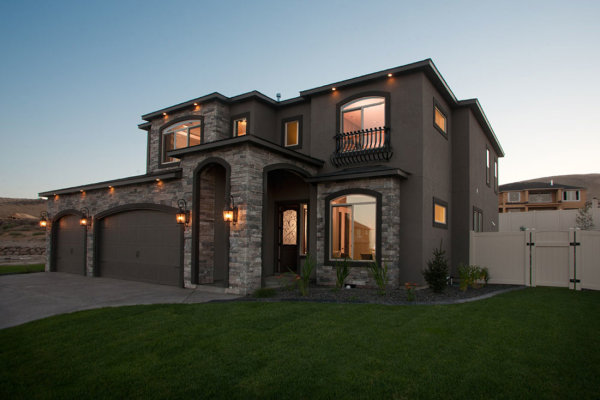
- Angles: Try shooting from corners as opposed to head-on. This makes your rooms appear spacious and allow buyers or renters to see the room’s depth. The same goes for outdoor shots- don’t shoot directly at the property. Go from an angle, and you’ll better be able to see the home or apartment’s depth.
- Composition: When photographing a room, take into consideration the height you want to be taking your photo from. Be sure to include as much of the room as possible, but don’t aim too high or too low and end up with a shot that’s mostly ceiling. Shoot from a height which suits the contents of the room. Chest height- that is to say, midway between the floor and ceiling- will work for some rooms, while hip height will work better for others. Judge the contents of a room, and try at different heights to see which better represents your home or apartment. Fill your photos with the contents of the room, not just empty space. In any case, be sure to keep your camera straight and don’t tilt it more than you have to.
- Multiples: Take tons of photos! That way you’ll have more selection to choose from and can give customers the best sense of your property.
- Editing: If your pictures aren’t exactly what you wanted, you can fiddle with the settings post-shooting. Slightly adjusting exposure, cropping out unsightly telephone wires or other ambient clutter, etc. Don’t overdo it, however, and don’t make your home unrecognizable. Do not, by any means, use a blurry or low-quality photo to represent your property.
At Responsive Property Management, we are experts at creating listings that sell themselves. From quality photos to descriptions sure to catch the eye, we can help you rent your property as soon as possible, and take care of all management issues later on. Contact us at (626) 339-1000 today!


